2017/02/28

Autel MaxiDAS DS808 Scanner Registration Guide

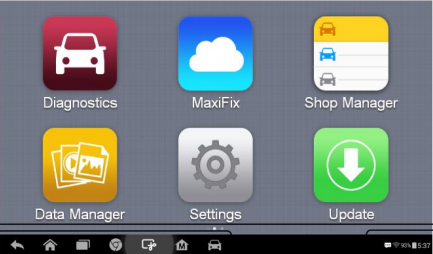
Latest original Autel MaxiDAS DS808 diagnostic scan tool is the update version of Autel DS708 diagnostic system. This a how-to guide of 2017 Autel DS808 registration.
Autel-MaxiDAS-DS808-Scanner-Registration
– Necessary to perform Autel DS808 registration?
– Definitely yes! To get access to the Support platform and obtain update and other services from Autel, you are required to register the Autel scanner DS808 for the first time you use it.

– What you need for the maxidas ds808 registration?
1- autel scanner ds808
2- account id
3- serial number & password

– How to register autel maxidas ds808?
  1. Go to the website: http://pro.autel.com.

  1. On the Sign In page, input your account ID and other information to
log in, if you already have an account.

  1. If you are a new member to Autel and do not have an account yet,
click the Create Autel ID button on the left side.

  1. Enter the required information in the input fields, read through
Autel’s Terms and Conditions and tick on Agree, and then click
Create Autel ID at the bottom to continue.

  1. The online system will automatically send a confirmation email to
the registered email address. Validate your account by clicking the
link provided through the mail. A product registration screen opens.

  1. Find out the scanner’s serial number and password from the About
section of the Settings application on the Display Tablet.

  1. Select the product model of your DS808 scanner, enter the product serial
number and password on the Product Registration screen, and click on
Submit to complete the registration.

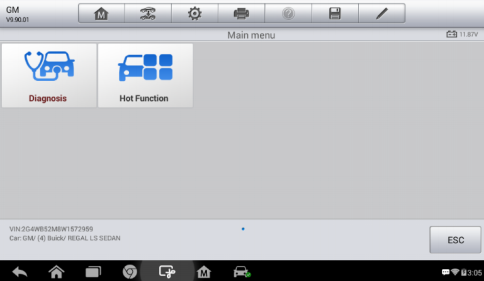
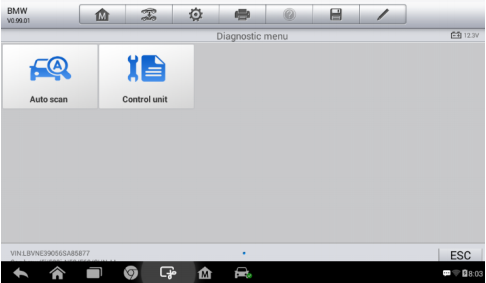
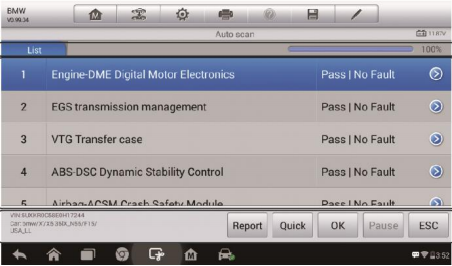
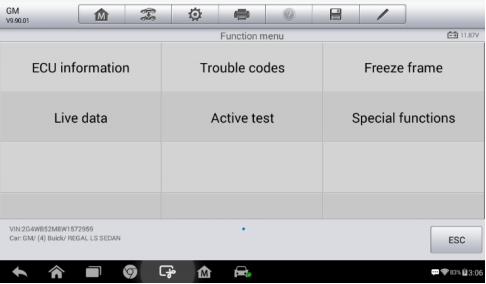
Then you can use Autel DS808 for OBDII diagnosis and special functions (Oil Reset Service, TPMS Programming Service, EPB Service, ABS/SRS Services, SAS Calibration Service, DPF Regeneration Service)
autel-ds808-function-1

autel-ds808-function-2

autel-ds808-function-3

autel-ds808-function-4

autel-ds808-function-5

autel-ds808-function-6

autel-ds808-function-7

autel-ds808-function-8

autel-ds808-function-9

autel-ds808-function-10

2017/02/23

Diagnose Ford via WiFi ELM327 and DashCommand

I went ahead and purchased Dashcommand App for my iPhone and a WIFI ELM327 OBD2 code reader for my Ford F-350 2002 OBD2 port. I have been impressed and really like it.


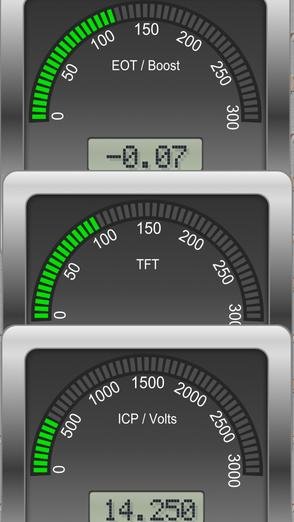
I also purchased OBD Fusion and didn't like it at all. Anyways back to dashcommand: I purchased the extended parameters for my 2002. That made the whole difference. With the parameters that comes with dashcommand wasn't very handy for the diesel. My dads 2001 V10 worked great. So I'm in this $10 for the app $10 for the extended parameters and $11.99 for a WIFI ELM327 obd2 scanner. Way cheaper than all the gauges I can do with this. Here is what my gauges look like:

At idle:

Accelerating:


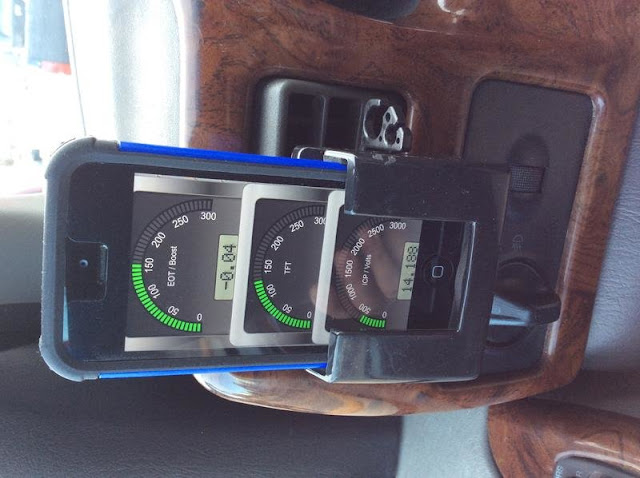
I watch the EOT with the boost as a digital spot, TFT, ICP with the volts in the digital spot. I didn't have any trouble getting it all set up. Took me a bit to get everything figured out....well so far. I haven't had it for too long. Here is how I set it all up:
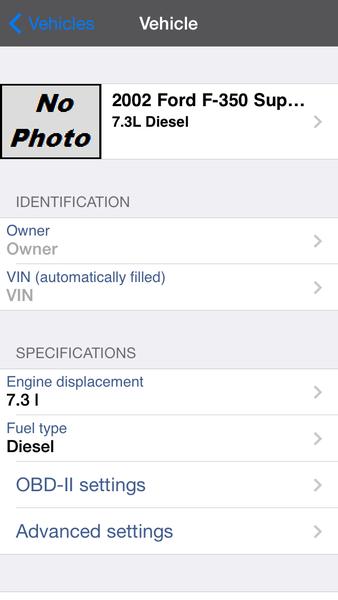
Set up your vehicle first

set-up-vehicle

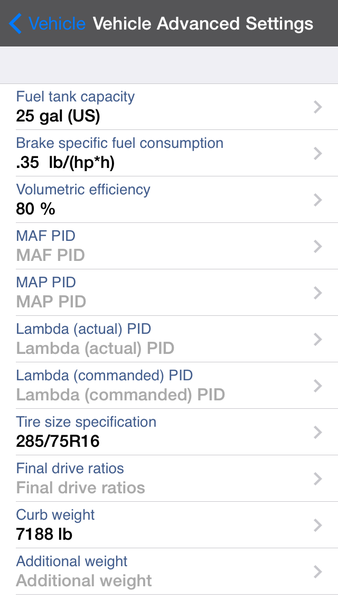
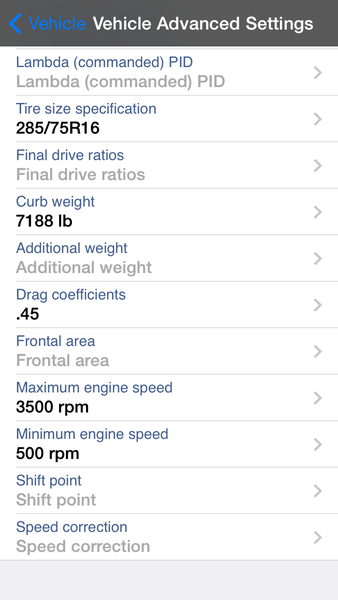
Then go to advanced settings for a few more things to input. I don't know all of these so I didn't fill them in. The MAF-Lambda PID info is only if you have an external sensor hooked up. That is why they are blank. Please feel free to correct anything you know of

advanced-settings

advanced-settings-2

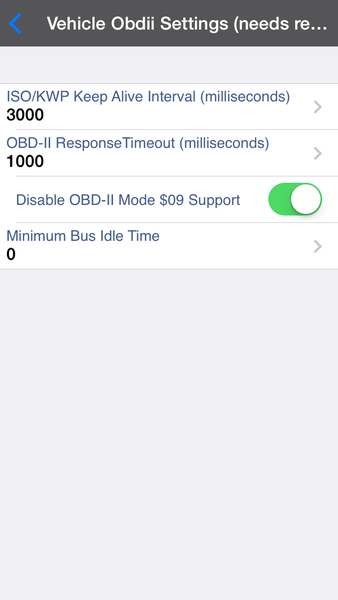
Now here is the important part pertaining to the powerstroke. In the advanced OBDII settings you need to change the response timeout to 1000 milliseconds and disable the $09 support. Like this:

advanced-settings-3

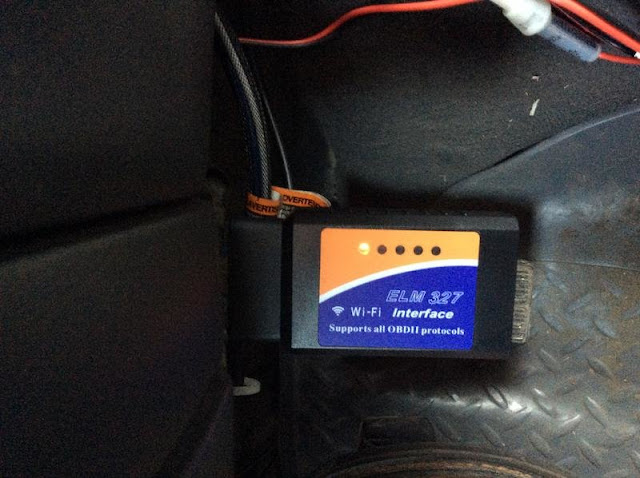
When I set up my gauges there are a lot of options listed, I only used the ones that said FORD._____. I found this actually made it work. You have the ability to choose the different styles of gauges, limits, and warnings. I have since changed my ICP to be much higher that I previously had it. Here is what my ELM327 OBDII adapter looks like:

wifi-elm327-scanner

Here is where I have my phone. Sorry it wouldn't let me rotate the picture:

elm327-on-iphone

So far I've been really impressed. I did turn off the GPS for the app, I didn't think I needed it. Plus it helps the battery life. I really don't use the dashboard, it seamed like too much information to me. I did download a few that people have custom made for a 7.3 and 6.0. You can make your own dashboard, but I haven't done that yet. I don't think I will, I just want it for the few gauges I've already made. This is my first write up. I hope it all makes sense. I have an iPhone 5c if you are wondering.
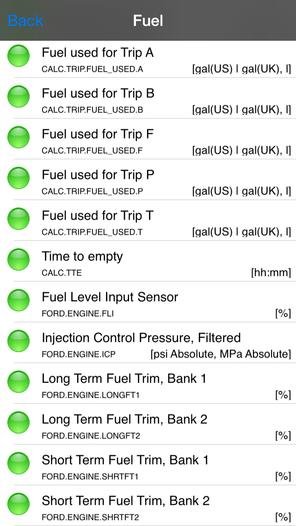
How the PID's look to choose from:

pid-on-phone

You can see the FORD.ENGINE.ICP. That is what I'm talking about when I say I choose the ones that say FORD._____

Here are the PID that are for Ford the FORD._____ ones.
intake manifold runner control command open
Mass air flow sensor voltage
Manifold absolute pressure - filtered
Manifold gauge pressure
Waste gate control duty cycle
Barometric pressure
Barometric pressure, filtered
Fuel level input sensor
Injection control pressure, filtered
Long term fuel trim, bank 1 & 2
Short term fuel trim, bank 1 & 2
Exhaust back pressure, filtered
Glow plug coil duty cycle
Engine load
Net engine torque
Throttle position mode
Battery voltage
Currently misfiring
Total number of misfires
Cumulative number of misfires - cylinder 1,2,3,4,5,6,7,8
Field octane adjustment request (spark retard)
Spark advance
Engine rpm
Vehicle speed sensor
Output shaft speed
Calculated slip across torque converter
Turbine shaft speed
Engine coolant temperature
Engine oil temperature, filtered
Intake air temperature
Manifold air temperature
Command gear for transmission
Gear ratio
Transmission gear ratio
Transmission fluid temperature, no FMEM Net engine torque

2017/02/20

wiTECH MicroPod 2 Chrysler Diagnostic Tool Setup Guide

This is a how-to guide of wiTECH MicroPod 2 Chrysler diagnostic tool setup.

If your dealership purchased a new microPOD and you would like to convert your existing microPOD for using with wiTECH 2.0 System, you need to download and install the microPOD Setup Utility to configure/setup your microPOD for wiTECH 2.0.

NOTE: microPODs with a serial number beginning with "WFP" should NOT be used with this utility.

PROCEDURE

If you have a restricted network, you must first make sure that all sites listed below are enabled to be able to successfully use microPOD Setup Utility and the wiTECH 2.0 System.
mixpanel.com
bugsnag.com
fcawitech.com
chrysler.com
dealerconnect.com
jeep.com
witechsystem.com


Note: Please disable any Anti-Virus software that you have on your computer in order to allow the microPOD Setup Utility to install and run properly.

How to download and install the microPOD Setup Utility

IMPORTANT: Once the microPOD is configured using the microPOD Setup Utility, all the microPOD Wireless Settings will be deleted. You will be required to follow the instructions from the KB link titled "How to configure a Wireless Profile on a microPOD II".

To download the application, please login to DealerCONNECT > Service > wiTECH Information > microPod Setup Utility

Step 1
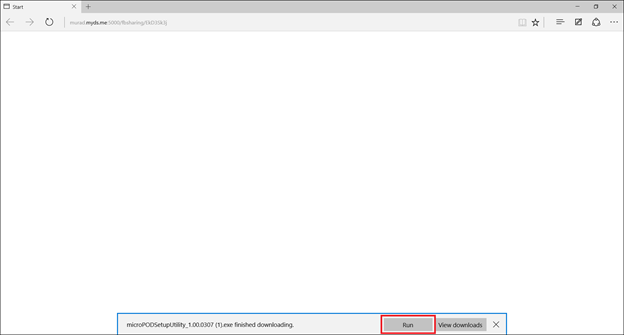
Click on "Run" to begin the downloading process of microPOD Setup Utility.
download-microPOD-Setup-Utility
Step 2
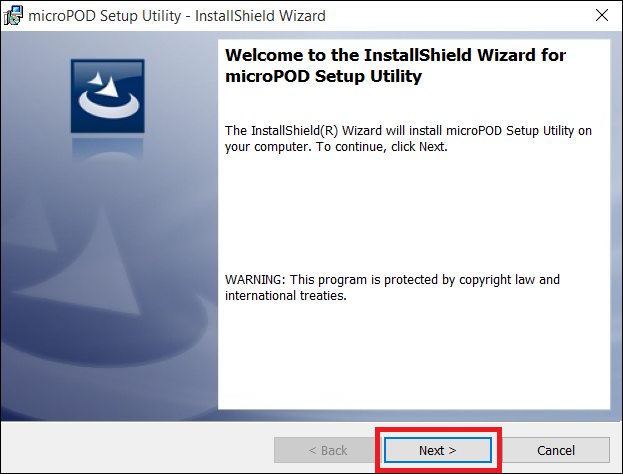
The install wizard will appear to install the wiTECH Driver x64 onto your computer if your PC has not been installed with wiTECH 1.0 application.

If the PC has been installed with wiTECH 1.0 App, you will not see the screen below and proceed to Step 6. Otherwise, click "Next" to proceed.
installed-with-wiTECH-App
Step 3
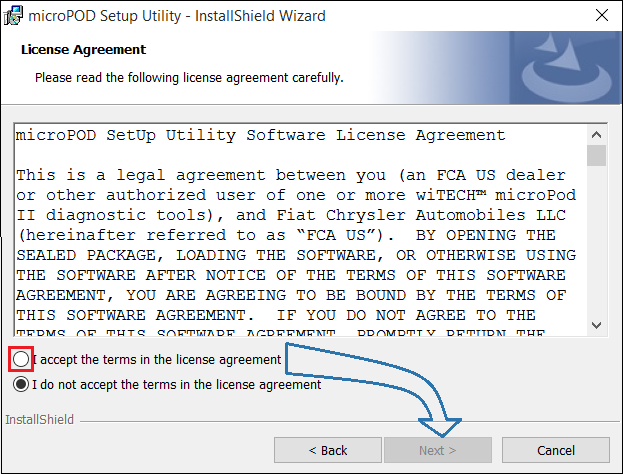
Read the License Agreement carefully, and accept the terms in the license agreement. Then, click "Next" to continue.
accept-License-Agreement
Step 4
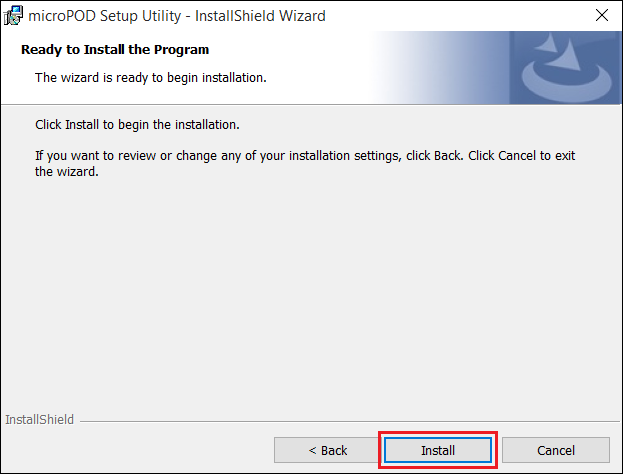
You are now ready to start the actual installation of the driver. You now need to click on "Install" for it to start.
install-driver
Step 5
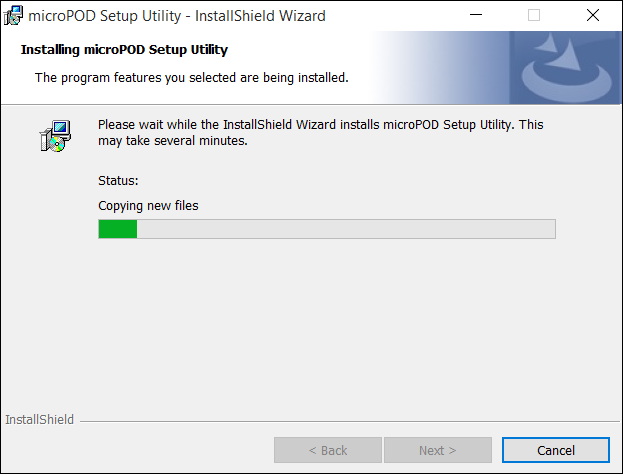
This will now install the wiTECH Driver x64. Once complete, the program will automatically proceed to the next step.
installing-setup
Step 6
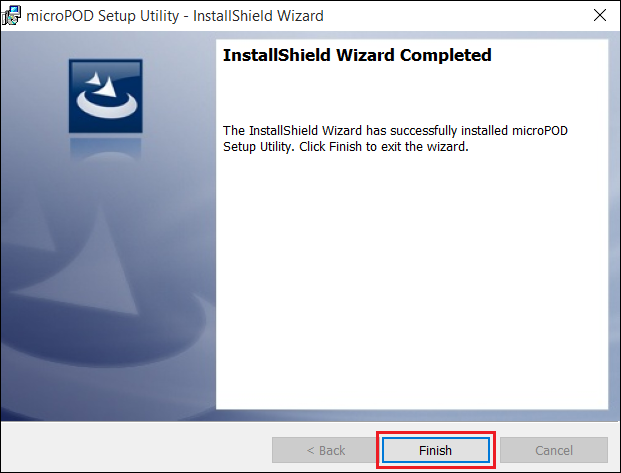
Once the installation has completed, click "Finish". Proceed to the following section, "Using the microPOD Setup Utility".
Using-the-microPOD-Setup-Utility

Using the microPOD Setup Utility

NOTE: Please make sure that your computer is connected to the internet and the microPOD is connected to the computer via USB before starting this process. This application will help you configure your microPOD for wiTECH 2.0.

Step 1
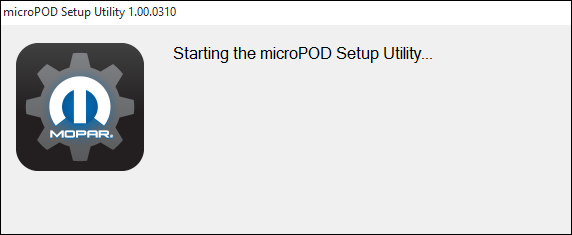
Start microPOD Setup Utility by clicking the icon on the desktop:
microPOD-Setup-icon
If the microPOD Setup Utility that is installed is out of date, you will be forced to update to the newer version of the application.

Step 2
Please make sure your microPOD is connected to the PC via USB.
connect-microPOD-to-pc
Step 2a
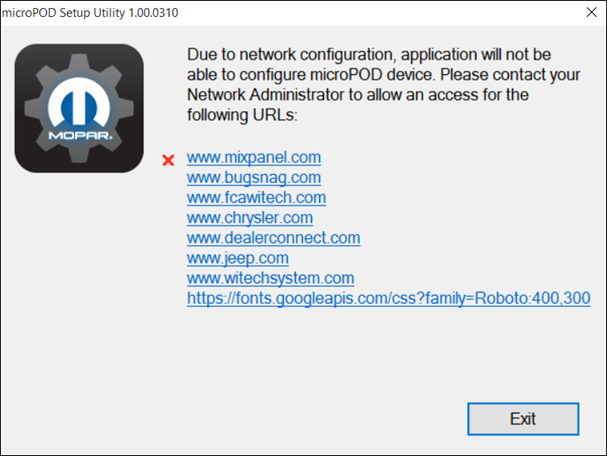
If you see the following screen you may not be connected to the internet, or have a firewall that blocks 1 or more of these websites.
not-connect-to-network
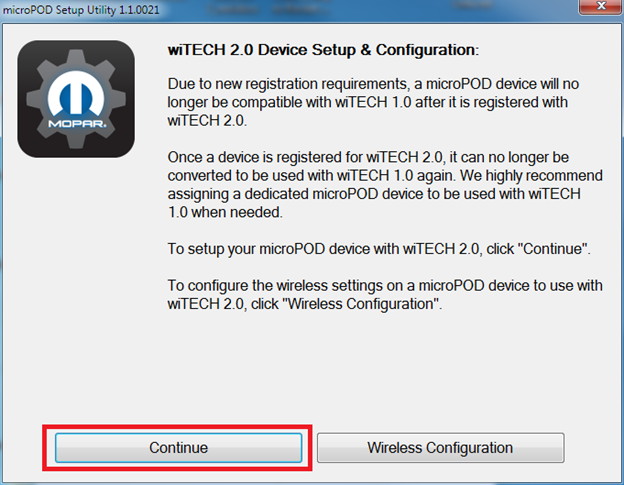
Select "Continue" on the next screen for wiTECH 2.0 Device Setup and Configuration.
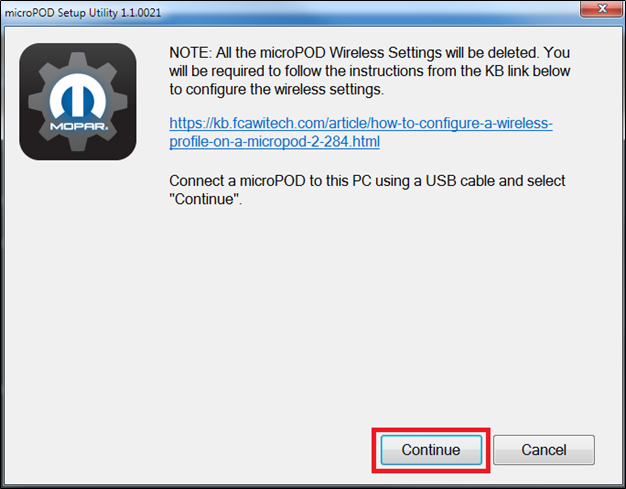
click-on-continue
NOTE: If you only want to configure the wireless setting on a microPod device to use with wiTECH 2.0, click "Wireless Configuration" and follow instructions.

Select "Continue" on the next screen to begin attempting to connect to the microPOD device.
connect-to-the-microPOD
Step 3
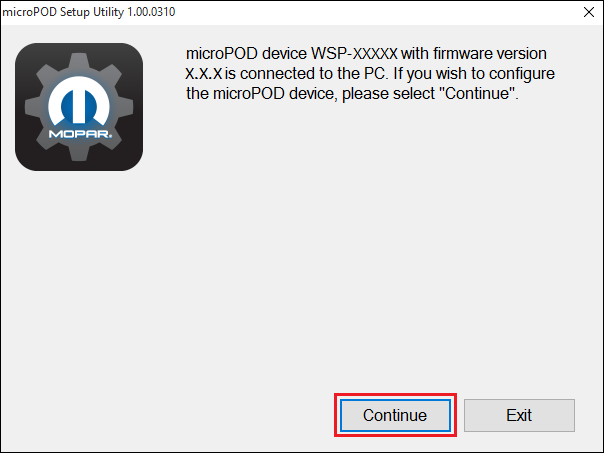
Once your microPOD II is recognized by the utility, select "Continue" to proceed with the configuration.
recognized-by-the-utility
NOTE: microPODs with a serial number beginning with "WFP" should NOT be used with this utility.

Step 3a
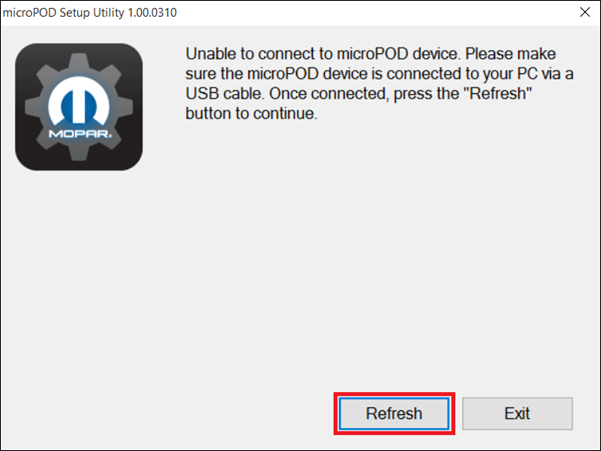
If the utility does not find the microPOD device, please assure that the microPOD is connected via USB and click "Refresh".
reflash
Step 4
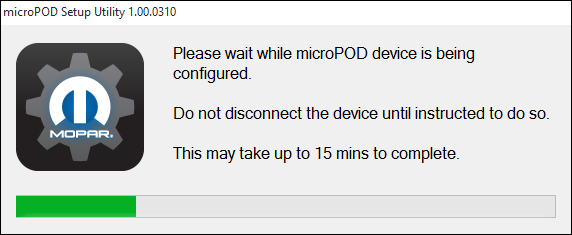
The following screen will appear for up to 15 minutes while the microPOD device is being configured.
micropod-being-configured
Step 5
The following screen will appear when the utility completed the configuration of microPOD for wiTECH 2.0 Application.

Note: After microPOD Setup Utility is ran, all existing wireless networks will be removed from the microPOD.

Important! Leave the microPod Setup Utility window running as you will be required to complete software updates to the microPod device before configuring the wireless.

Step 5a
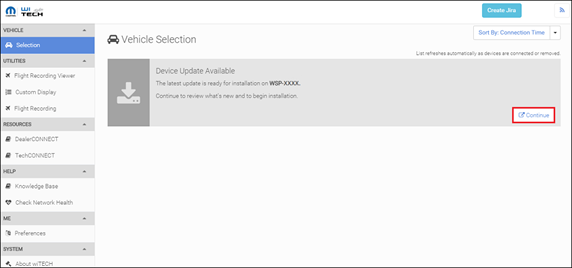
Login into wiTECH 2.0. The microPOD II that was just configured using the microPOD Setup Utility should appear in the wiTECH 2.0 discovery. You will need to update the operating system of your microPOD II before it can be used with wiTECH 2.0. Click "Continue", and your web browser will redirect you to the page to download and install the operating system update as seen in the following step.
Login-into-wiTECH
*NOTE: If microPOD II does not show up in discovery after a couple of minutes please power cycle your microPOD II by unplugging it and plugging it back in.

Step 6
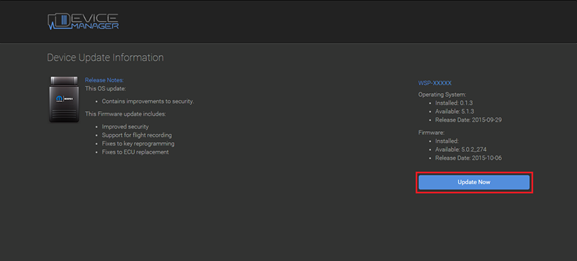
Click "Update Now" and your microPOD II should continue to the update screen. Once updating, do not interrupt your microPOD II at any point until the update is complete.
update-now
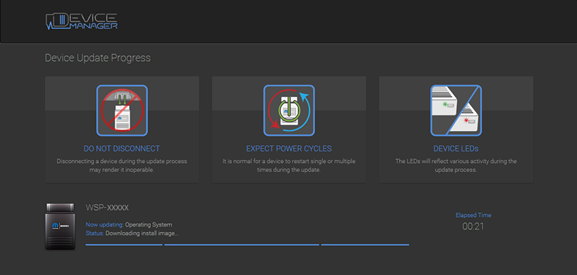
 *NOTE: This can take upwards of 9 minutes. It is normal activity for the microPOD II to reboot.
micropod-reboot
Step 7
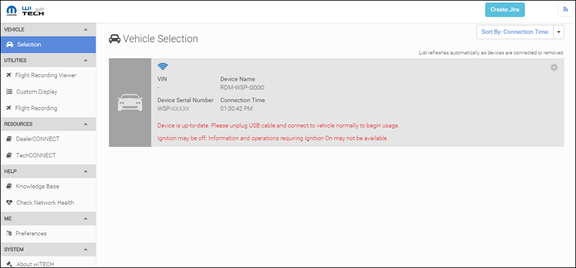
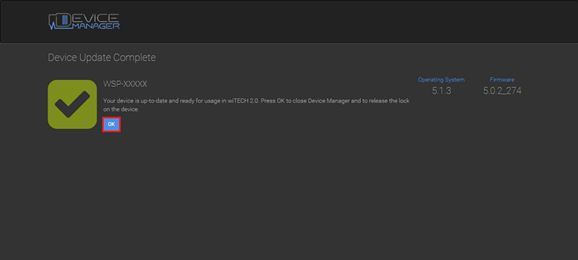
Click "OK" and you will be navigated back to the wiTECH 2.0 discovery page. Your microPOD II should appear updated and ready for use.
update-success
ready-for-use

Step 8
With the microPod Setup Utility still running, configure wireless on the wiTECH microPod II device.

Enjoy!


2017/02/19

wiTech Micropod 2 Diagnosis and Programming System Review

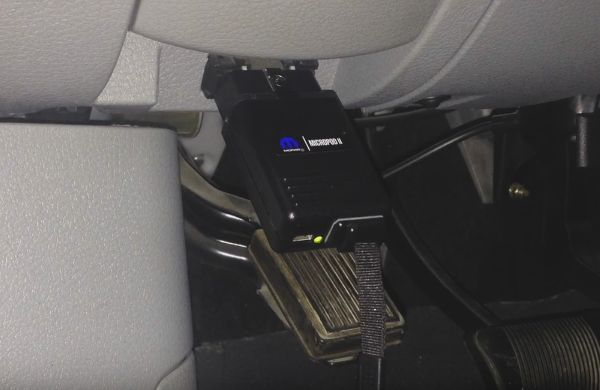
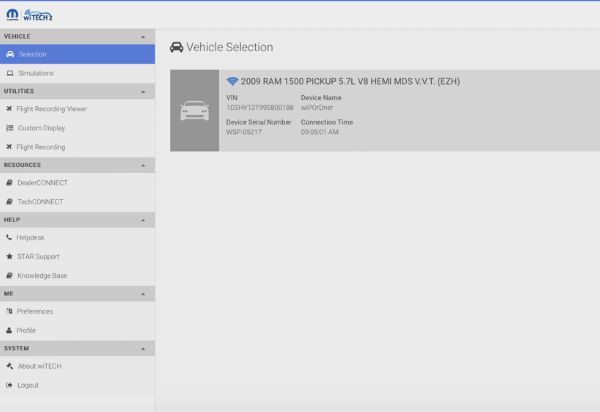
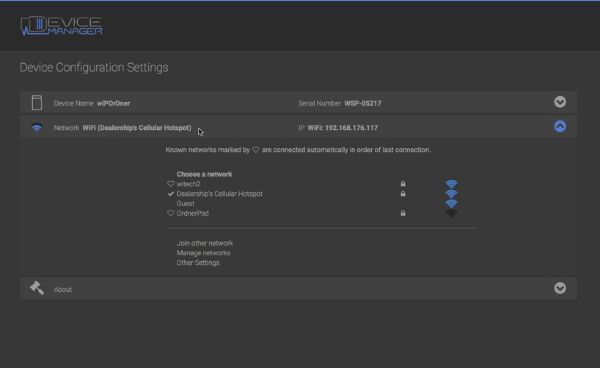
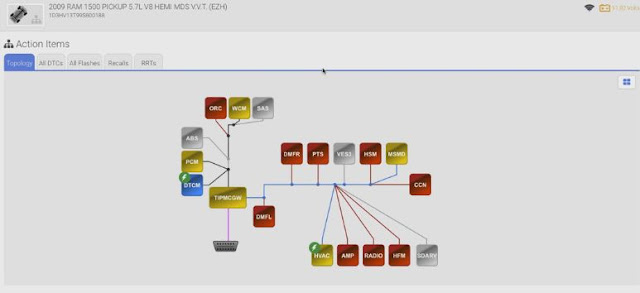
I’ve used Chrysler wiTech Micropod 2 for diagnosis and programming for a few months, and here, wanna share something with you all.

JUST FOR SHARING!
I must say wiTech MicroPod 2 works perfect in diagnosis and programming in Multi-language, for Chrysler, Dodge, Jeep and Fiat cars.  This is the same as  the dealerships are using. It replaces your StarMobile, StarScan, and wi-TECH POD, and enables your technicians to increase their productivity and provide world-class diagnostic services

wiTech MicroPod II version:
V17.03.01

Working language:
English, French, Spanish, German, Italian, Russian, Japanese, Korean and Chinese

Abilities:
Provide basic OBDII diagnosis
Have access to module for Re-Flash Programming, TSBs, wiring diagrams, and repair information.

Note: wiTech ii supports chrysler and Fiat online programming, but the package from the vendor comes without  fiat software; i have my own micro pod 2 fiat software so that i can installation and programming. )

Features:
Supports all the latest technologies and vehicle platforms including the latest Chrysler and Fiat Vehicles. Works as a direct replacement for the wiTech POD

Vehicles supported:
100% CAN – equipped coverage to 2016 for Chrysler, Dodge, Jeep, and Fiat vehicle


What you need:
A working PC
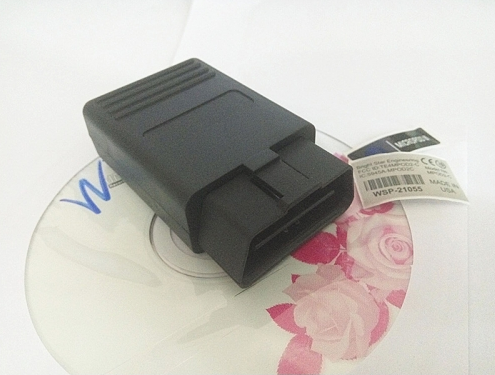
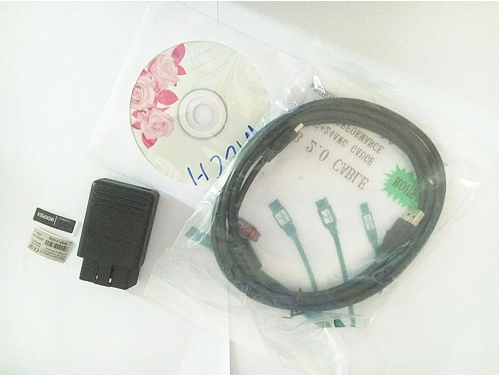
High-quality wiTech MicroPod 2 Chrysler diagnostic tool
Software V17.03.01
Chrysler/ Dodge/ Jeep/ Fiat car

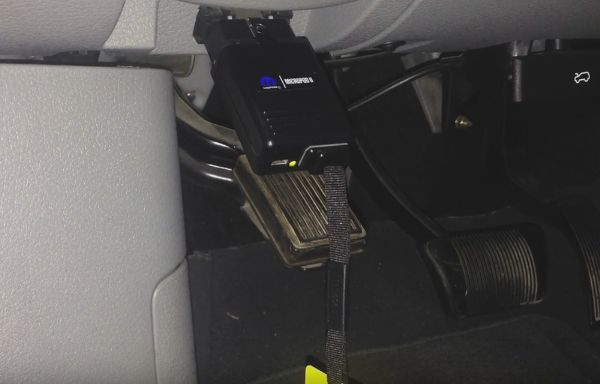
What the adapter works:
wiTech-Micropod-2-adapter
wiTech-Micropod-2-adapter-2
wiTech Micropod for sale:

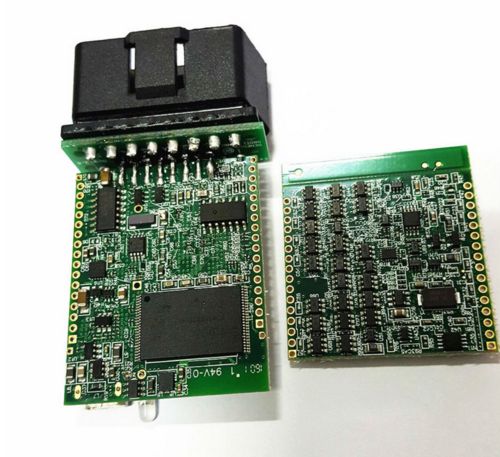
wiTECH MicroPod II PCB:
wiTech-Micropod-2-pcb-1
wiTech-Micropod-2-pcb-2
wiTech micropod 2 I’m using:
wiTech-Micropod-2-setup-1
wiTech-Micropod-2-setup-2
wiTech-Micropod-2-setup-3
wiTech-Micropod-2-setup-4
wiTech-Micropod-2-setup-5
wiTech-Micropod-2-setup-6
wiTech-Micropod-2-setup-7
wiTech-Micropod-2-setup-8
wiTech-Micropod-2-setup-9
wiTech-Micropod-2-setup-10