Thinkdiag 2 is an advanced Bluetooth OBD2 scanner with every function needed to diagnose car problems. It also does advanced service functions and ecu coding, and it does it for a wide car brand range. Here comes a detailed review of the thinkdiag2.
Unboxing:
The thinkdiag2 obd2 scanner is well made and comes with a nice sturdy case. The cable and scanner are separate, that way if the cable gets damaged you can replace the cable and not the scanner.
Included in the package are the Thinkdiag2 Bluetooth Scanner, DB15 to OBD 16pin diagnostic cable, EVA storage bag, and multilingual manuals, enhancing convenience and usability.
Its compact design, measuring at 4.8 * 2.7 * 1.1 inches, coupled with an intuitive interface, caters to technicians, DIY enthusiasts, and automotive professionals alike. Compatible with iOS 9.0 and above, as well as Android 5.0 and above systems, the Thinkdiag2 ensures seamless connectivity with your smart device.
Download App
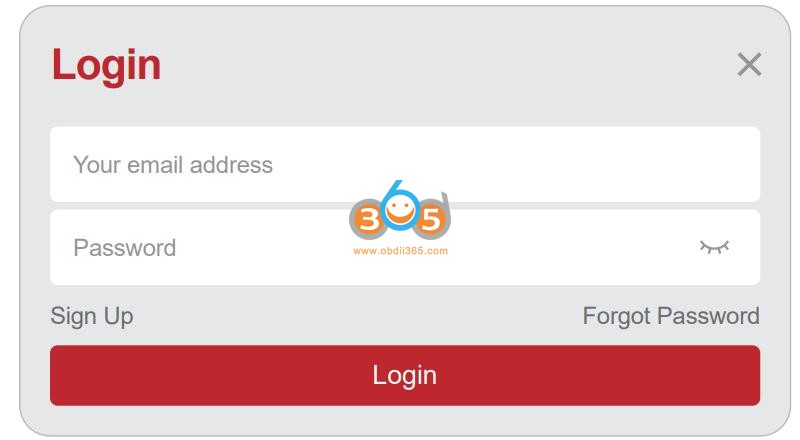
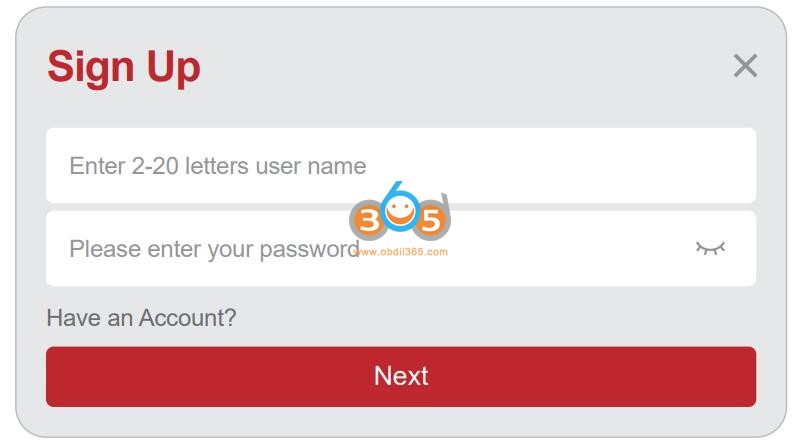
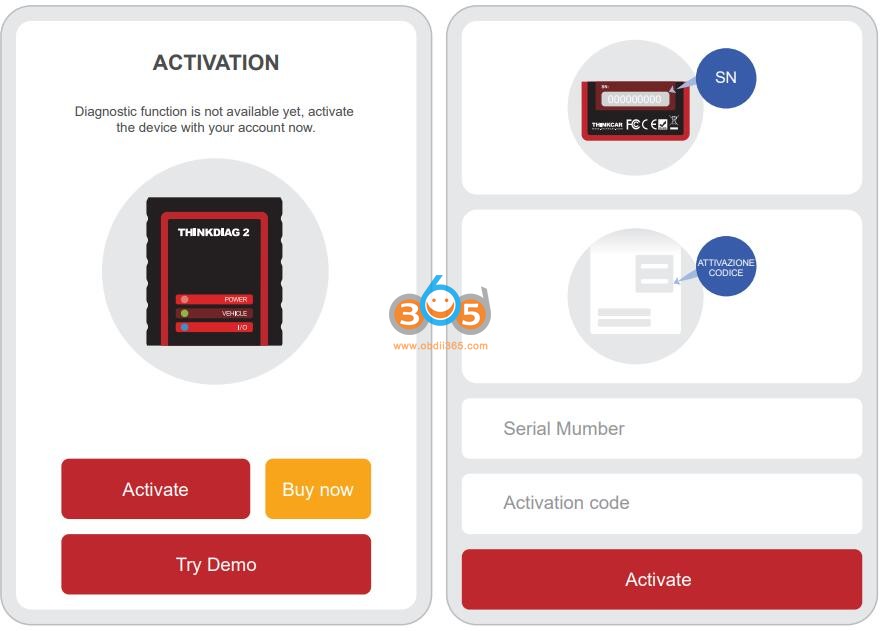
You will have to use an Android or Apple device, best to use a smart phone and download the application from your respective Play Store. The App works well overall. Doesn’t take too long to load. Registration and signing into the app was simple. The unit plugs into your vehicle’s OBD port and then you connect to the device via Bluetooth. (Check: How to download and activate Thinkdiag2 App)
Keep in mind, that once you download all the car maker protocols, you’re looking at about 8 GB of space. For some reason, the Play store won’t let you download the app (Thinkdiag+) on a tablet. But you can download it directly from one of the Thinkdiag websites.
Function Review
The Thinkdiag2 Bluetooth OBDII Scanner is a professional-grade diagnostic tool that elevates the capabilities of your smart device to those of a seasoned technician. Notably, it’s the sole tool in its category to support CAN FD protocol vehicles, particularly advantageous for post-2020 GM models, streamlining communication and eliminating the need for additional adapters.
It almost looks like this has the same software as the Launch Scanner as its almost identical in the way it functions. With a vast database covering over 120 car brands in 10 languages, including bidirectional control functionality, the Thinkdiag2 offers unparalleled versatility in verifying system inputs/outputs without relying on the vehicle’s controls, from throttle modulation to door lock actuator testing. But, By enrolling in an annual membership, you unlock complete access to the entire system and functionality for all compatible car models throughout the subscription’s validity period.
Special Functions
The scanner includes several advanced functions traditionally found in more expensive dealership tools, such as:
- ECM coding: Allows updates and coding of the Engine Control Module.
- Bi-Directional Control: Enables sending commands to the vehicle to test functionality like fuel pumps, injectors, and more.
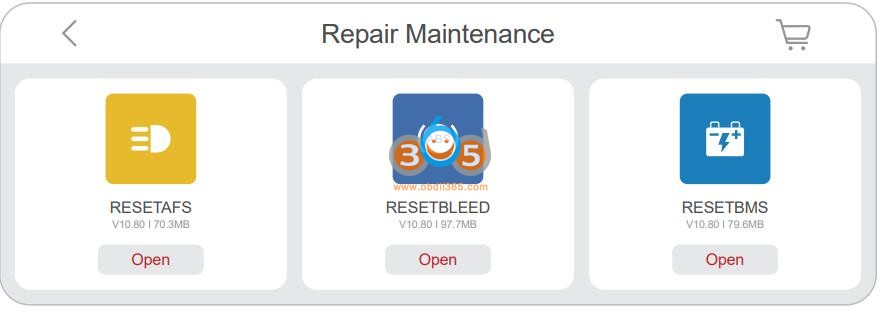
- Service Resets: Includes oil reset, TPMS reset, and other routine maintenance function resets.
Moreover, its ECU coding feature empowers users to unlock hidden features, disable bothersome functions, or recalibrate adaptive data post-repair, while the inclusion of 15+ reset functions—from ABS bleeding to key programming—ensures comprehensive maintenance support. Furthermore, its ability to perform all system diagnoses and retrieve VIN automatically simplifies troubleshooting, providing valuable insights into the vehicle’s health with ease.
The Thinkdiag2 also boasts active test capabilities and One-Touch AutoVIN Technology, allowing for full bi-directional control and automatic identification of most car models with just a single click. It does more special functions such as Transmission learning and has a ton of active tests / bi directional controls.
It almost looks like this has the same software as the Launch Scanner as its almost identical in the way it functions.
The 4 in 1 graph or combine does not work with IOS or iPhones at all and is major feature. They mention this is because of copyright features. This means no plotting 4 wheel speed sensors at once for iPhone but for Android it works. This is why a took a star away because they mention that this feature but it doesn’t work again for iPhone. The data is better and it has full functions on Android phone. My take is for a quick look a iOS device will work fine, but for more in-depth diagnostic where sensor outputs need to be compared Android is the better option. But for the price this thing is absolutely amazing.


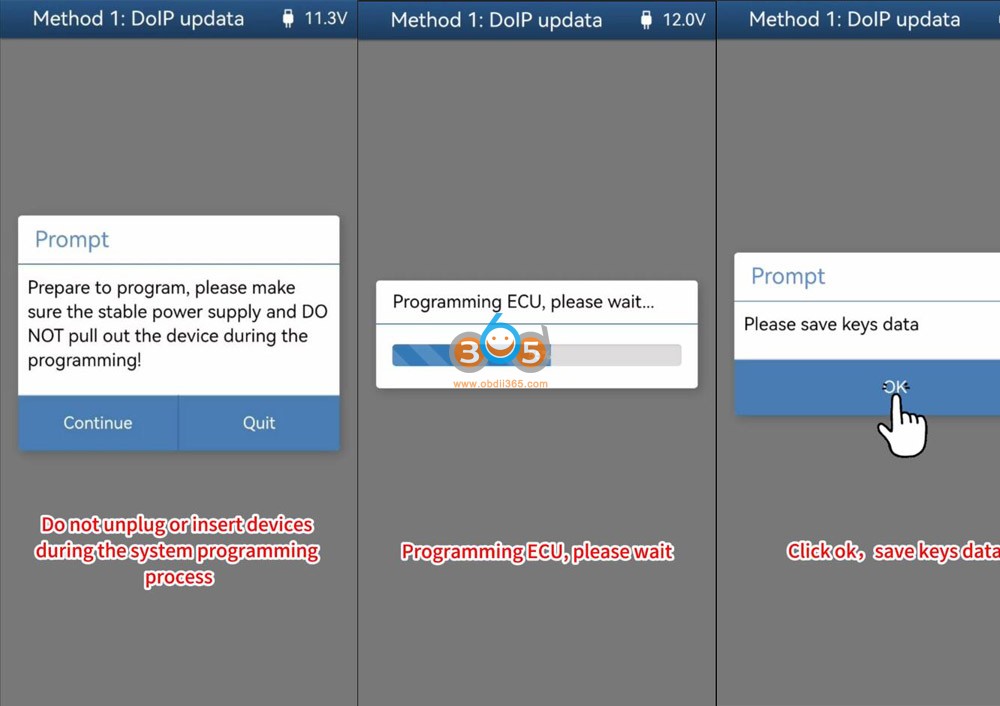
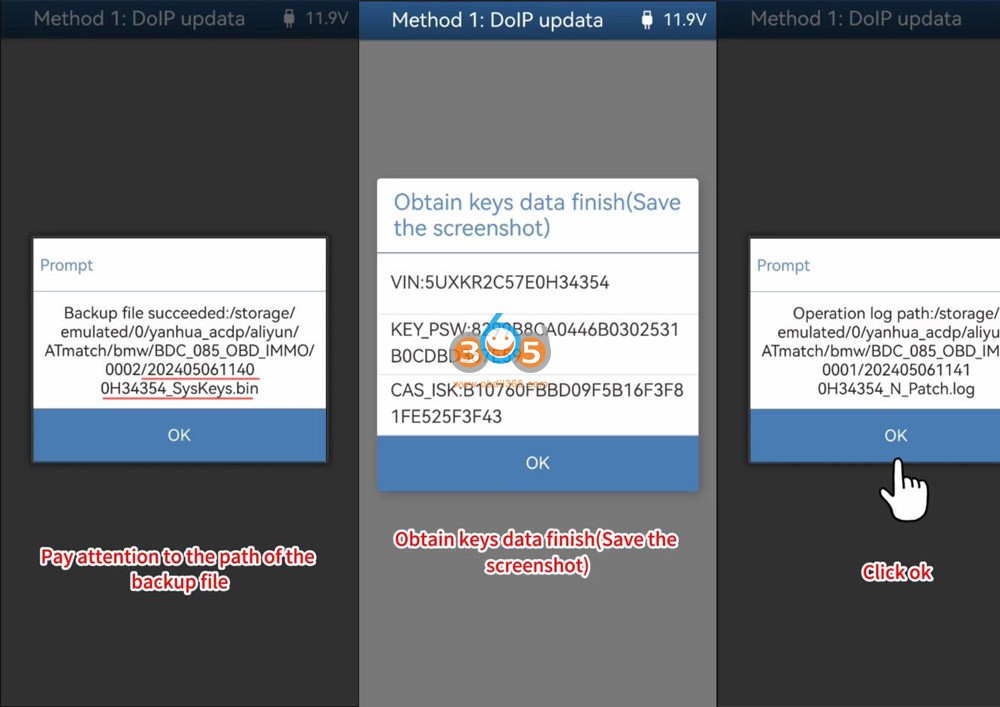
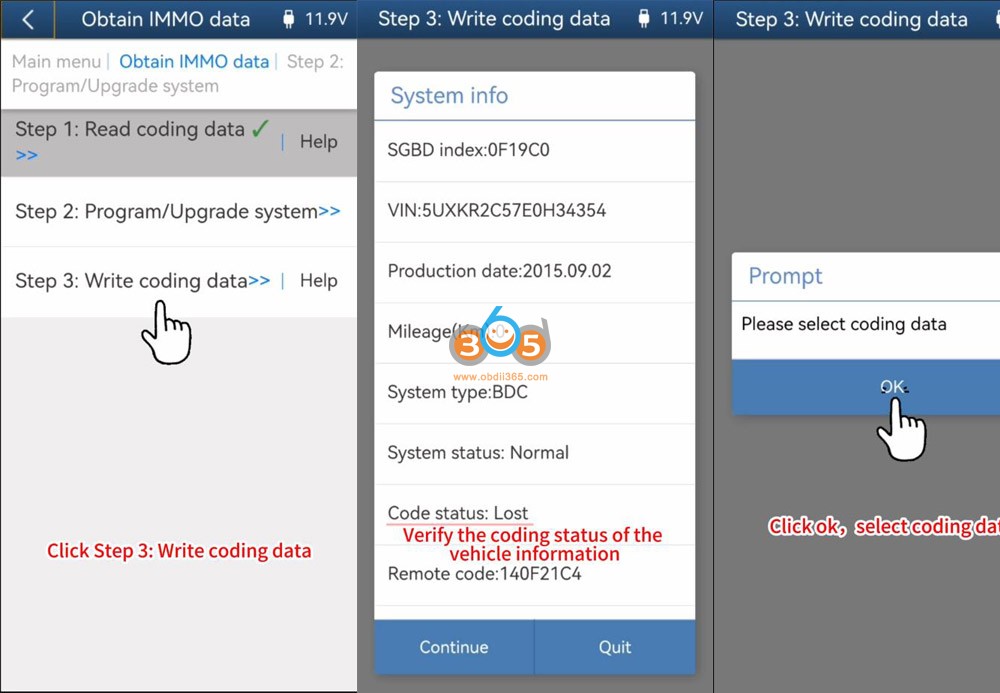
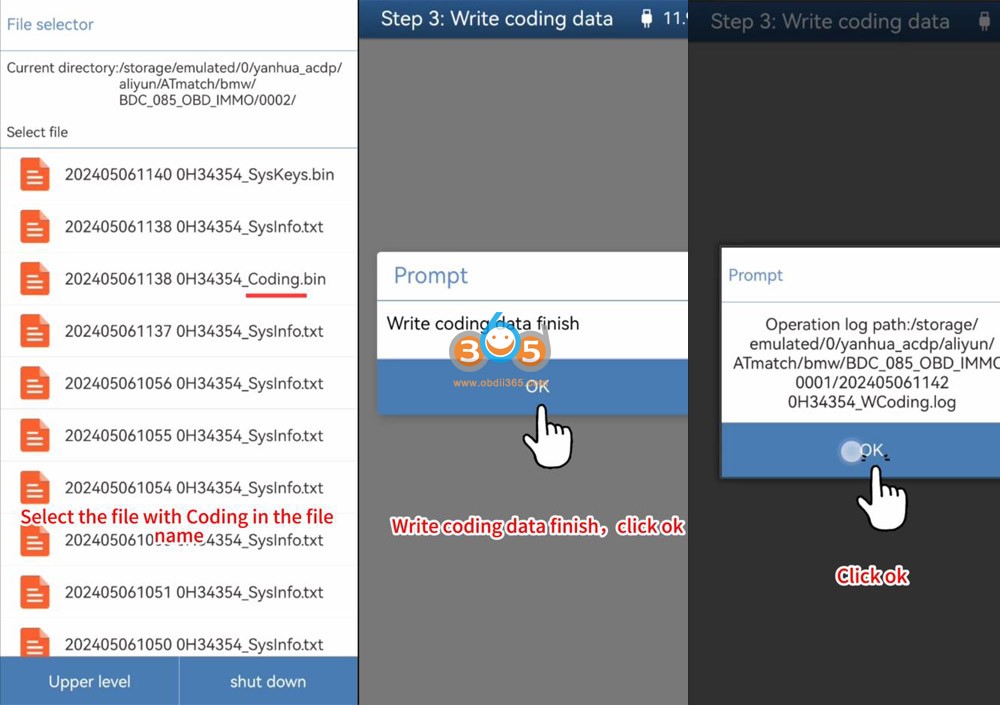
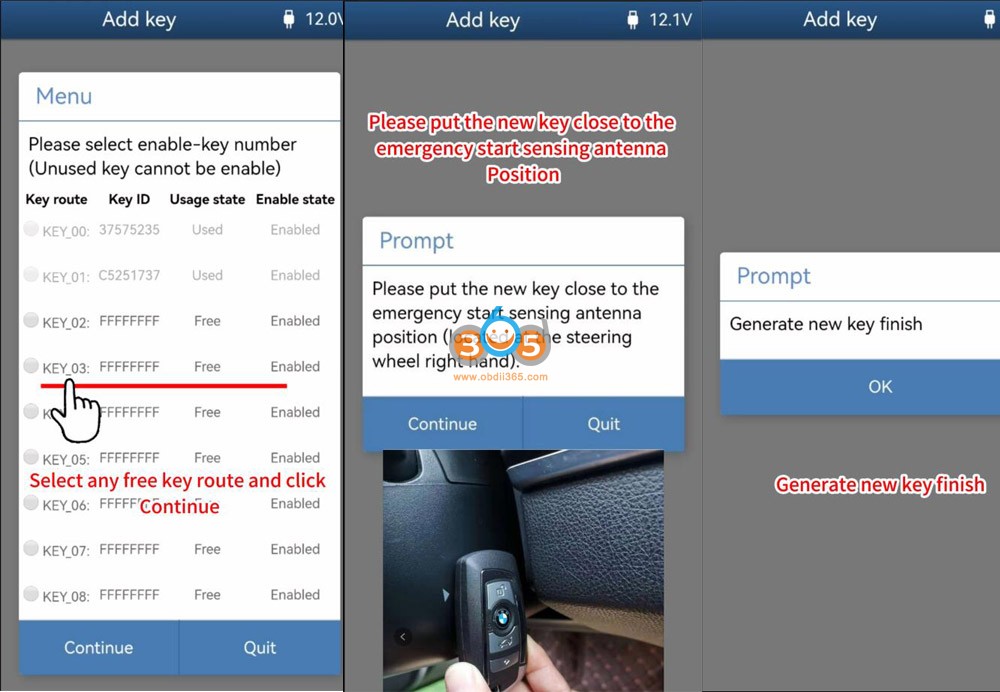
Thinkdiag 2 also has IMMO capability. We were able to program 5 IMMO Chip keys and 2 Smart Fobs for my 2008 Nissan Rogue SL with proximity system and Immobilizer.
If use it to program IMMO, keys and FOBs for compatible vehicles it will pay for itself with just programming 1 or 2 keys and/or FOBs.
App works with autoauth to access the Chrysler FCA Secure gateway on the newer vehicles. (Check: How to unlock FCA SGW with thinkdiag2)
This one will only activate one component at a time, but it is definitely worth the money. Considering it can do functions of tools that cost many times what this one does.
This is great, does what Autel can do and sometimes more. Variant coding is awesome! We use this on the Mercedes C300 and have been able to turn off “Auto Start/Stop” so we don’t have to press the button every time we turn on the car anymore.
Thinkdiag2 Software & Subscription
Thinkdiag2 supports 1-year full software function use and update.
One of the standout features of Thinkdiag 2 is its commitment to regular software updates, which ensure that the scanner remains compatible with the latest vehicle models and technologies. These updates are crucial for maintaining the tool’s effectiveness across a broad range of vehicles.
By subscribing to an annual membership, you gain access to the full system and function of all compatible car models during the validity of the subscription:
1-year membership need 99.95 dollars
2-year membership need 159.95 dollars
5-year membership need 339.95 dollars
To subscribe to one car brand need 49.95 dollars/Year (after subscription, you can get full system functions and special functions of all compatible models under its brand)”.
Comparison:
1. Thinkdiag 2 vs Topscan
This is a lot better than the TopDon TopScan as well it does more special functions such as Transmission learning and has a ton of active tests / bi directional controls. The graphing is also ahead of Topscan and allows you to change and look at graphs and 4-1 with recorded data and the TopScan won’t allow you to do that and just plays a movie file back of the recording which is very limited. We would recommend this over TopScan because you get some much more functionality and the graphing is awesome. Plus it can do ECM Replace for Honda / Subaru and TopScan Doesn’t do that. We also like it has a cord so you don’t forget it in a car. It the scanner part fits in the door side holder nicely or on top of the steering wheel. We have the Topdon Topscan as well and this thing puts the TopScan to shame in features again such as special functions and the ability to replace ECM on certain models.
2. Thinkdiag 2 vs Autel AP200
Thinkdiag2 has so many other service functions like resetting ECU values etc.. overall an A+ device we had used Autel ( Both AP200 and MD808) and it wasn’t as well built and fast as this also they didn’t have the key programming function for some cars (i.e Mitsubishi Mirage 2015) and lots of connectivity issues.
3. Thinkdiag 2 vs. Thinkdiag
The main differences between the Thinkdiag and Thinkdiag 2 as outlined in the video focus on connectivity, protocol support, hardware design, and software functionalities. Each aspect contributes uniquely to the performance and usability of the scanners.
| Feature | Thinkdiag | Thinkdiag 2 |
|---|
| Connectivity | Bluetooth 4.2 | Bluetooth 5.0 |
| Protocol Support | Standard OBD2 protocols | Standard OBD2 protocols + CAN FD |
| Hardware Design | Compact dongle that plugs directly into OBD2 port | Dongle with an extended cable and indicator LEDs |
| Software Features | Comprehensive vehicle diagnostics, app-based interface | Enhanced diagnostics, expanded vehicle coverage, advanced service functions |
| Diagnostic Capabilities | Full system diagnostics, live data, code reading and clearing | Advanced diagnostics including bi-directional controls, enhanced live data |
| Service Functions | Basic service functions like oil reset, TPMS | Advanced service functions including ECM programming, bi-directional tests |
| Price | Generally more affordable | Slightly higher price, reflecting new features and capabilities |
| User Interface | App-based, responsive | Improved app interface, more user-friendly navigation |
| Target User | Automotive enthusiasts, general diagnostics | Professional mechanics, users needing advanced features for newer vehicles |
| Portability | High due to compact size | High with added flexibility due to extended cable |
Thinkcar Thinkdiag vs Thinkdiag2
Pros:
- It will compete with Launch X431 scanner which is around $1000
- Cheap, can do almost as much as the x431 for a fraction of the price
- this tool is CAN FD compatible as well as FCA Chrysler & Autoauth for secure gateway access.
- A very nice and good quality tool that is very simple to use.
- It has full bi-directional control
- Full live data with graphs, combining and recording
- Full scan (very fast)
- Wide vehicle coverage
- nice ECU coding
Cons:
- The 4 in 1 graph or combine does not work with IOS or iPhones at all and is major feature.This means no plotting 4 wheel speed sensors at once for iPhone but for Android it works.
- Thinkdiag2 only supports 1-year full software function use and update, after 1-year, you will lose all functionality once subscription expires.
- The maintenance functions work only on very few models.
- Make sure the device your are using it on has ample storage because it can take up quite a lot of space.
- you might be challenging to get bifuctional operations for some older Japanese and Singapore vehicles. Make sure the device your are using it on has ample storage because it can take up quite a lot of space.
This is a great tool for a great price! Whether you are a DIY or a seasoned pro this thinkdiag 2 scanner is for you.