
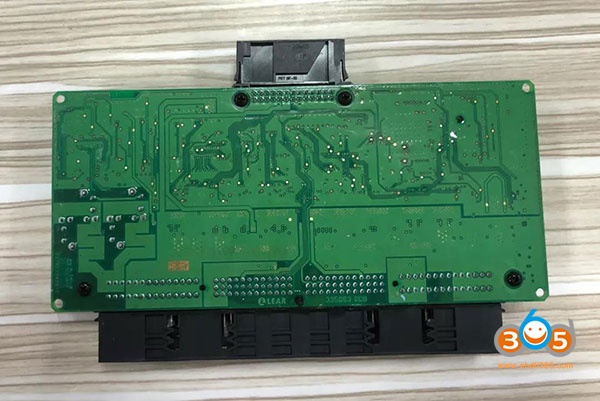
Car model and year: BMW Mini E81 / E71 with FRM3 (BMW Footwell Module).
Purpose: repair BMW FRM3
Possible Tools to repair FRM3:
1.Xhorse VVDI Prog
2. Yanhua Mini ACDP
3. CG Pro 9S12
4. Hextag programmer
5.Xprog M Box
I have not had any trouble yet with my VVDI prog.
When using vvdi prog, you must first write partition (choose dflash 0kb) and ALSO write your new eeprom file. Function Write partition does not write your .bin eeprom file.
Step-by-step procedure:
BMW E-series E71 for example.
Step 1: Read Dflash
Connect FRM module with VVDI-prog
Open VVDIprog software
Select MCU->Motorola -MC9S12->9S12XEQ384 unsecured

If vvdi prompts “Partition information error, please select the partition size manually”

Select the partition size EEE:0 sector, DFlash: 128 sectors (32K), press OK

Read and then save Dflash, i.e E71 xe
Step 2: Dflash to Eeprom

Open Dflash to EEE for FRM3 Software, upload Dflash data just read

Then convert Dflash to eeprom.
(You can use free online FRM3 D-Flash to EEPROM converter here as well:
Save eeprom, i.e: eee_L508991.bin
Step 3: Write EEPROM
Back to VVDI Prog software, select Type 8-Others->BMW->FRM E-series XEQ384
Click Write Partition (will erase Dflash and eeprom data)

Write EEPROM partition to 16 sectors (4K), DFLASH: 0 sector

Open EEPROM data just converted from Dflash.

Click Write tab to write eeprom
Reset FRM success.

Install FRM module back to vehicle.
BMW FRM 2M25J/3M25J(9S12XEQ384) pinout to VVDI-Prog.

BMW FRM F-series 2M25J (MC9S12XET512) pinout to VVDIProg.

You can use VVDI BMW to do coding.
ACDP Mini+ FRM adapter repair FRM3: confirmed
It depends on the chip types.
Connect the Yanhua Mini ACDP device and BDM adapter with the FRM unit.
Backup data before operation.


Run Mini ACDP app on a mobile
Select BMW->FRM Programming->ICP MC9S12XEQ384 MASK: 3M25J


Select FRM Data Recovery (Automatic mode)

Detect pins and probe connection

Reading chip data

Read and display chip data
Check the data. If reads D-Flash as 32K, the FRM module data is corrupted.
If reads EEPROM data as 4K , FRM module data is not corrupted.
If reads EEPROM data as 4K , FRM module data is not corrupted.

Uploading data
Auto saved D-flash to Yanhua Mini ACDP file folder
Show programming data

Verifying data

FRM data recovery completed.
CG Pro repair BMW FRM: confirmed
Procedure:
1: Check car model
Car model: BMW E series
Module: FRM
Chip: 9S12XEQ384
2: Turn off the ignition switch and remove the FRM module from the driving left foot of the car

3: Disassemble FRM module and confirm the SN, type and chip


4: Open CG PRO software
Select type, car make and model
Follow the corresponding wiring diagram to connect FRM module to CG PRO 9S12 programmer via DB25 adapter


5: Read EEPROM data and save


6: Write the data has been read or new data after partition operation


After finishing repair the data, install the FRM module back to the car, and set code for FRM by CGDI BMW key programmer.
You don’t have to buy AutoHex, you can buy HexTag separately.
Step-by-step procedure:
Step-by-step procedure:
Go to Microtronik HexProg main menu, software 1.0.6 for example.
Click on “On Bench Programmer”-> “BMW”-> “FRM”-> “FRM3 E Series”

Click on “Wiring” to follow it to connect.

Click on “Read” and get message “ Error on reading EEPROM shows the files in FRM3 is corrupted”.

Click on “P-FLASH” and then “Read”.
To check the communication with FRM you can try to read the P-flash.

Click on “EEE” -> “Read” again, Click on “Repair” and get message “This function is used to repair corrupted FRM EEPROM data. It will try to recover the original data from D-Flash, if it failed please contact Microtronik for help”, go on click on “Repair”.

FRM EEPROM data has been repaired.

When it shows the FRM Repair prompt again, just close it.

Now we can read EEE shows FRM is back to normal state.

You are advised to code FRM using AutoHex after repair.
Xprog M box (UPA as well) is the cheapest device to read fault FRM3 data. But it is not stable as other programmers.
Some will have these kinds of issues a lot when use Xprog clone to repair FRM’s.
You can hook the frm back to the xprog and made a backup of the EEE and pflash. Then perform coding using WinKFP/Ncs expert.
Check guide here:
FYI:
There are several devices you can used to perform FRM coding job: BMW ICOM Engineering software Ncs expert, Launch X431 V, VVDI BMW, CGDI BMW, Autel Maxisys Pro MS908P etc
To be upgrading…
No comments:
Post a Comment